
Last updated September 19, 2026
Full 25-point door and opener safety check with every visit - springs, cables, rollers, tracks, and your LiftMaster or Chamberlain opener included
You get a price before we start. It does not change when the truck arrives.
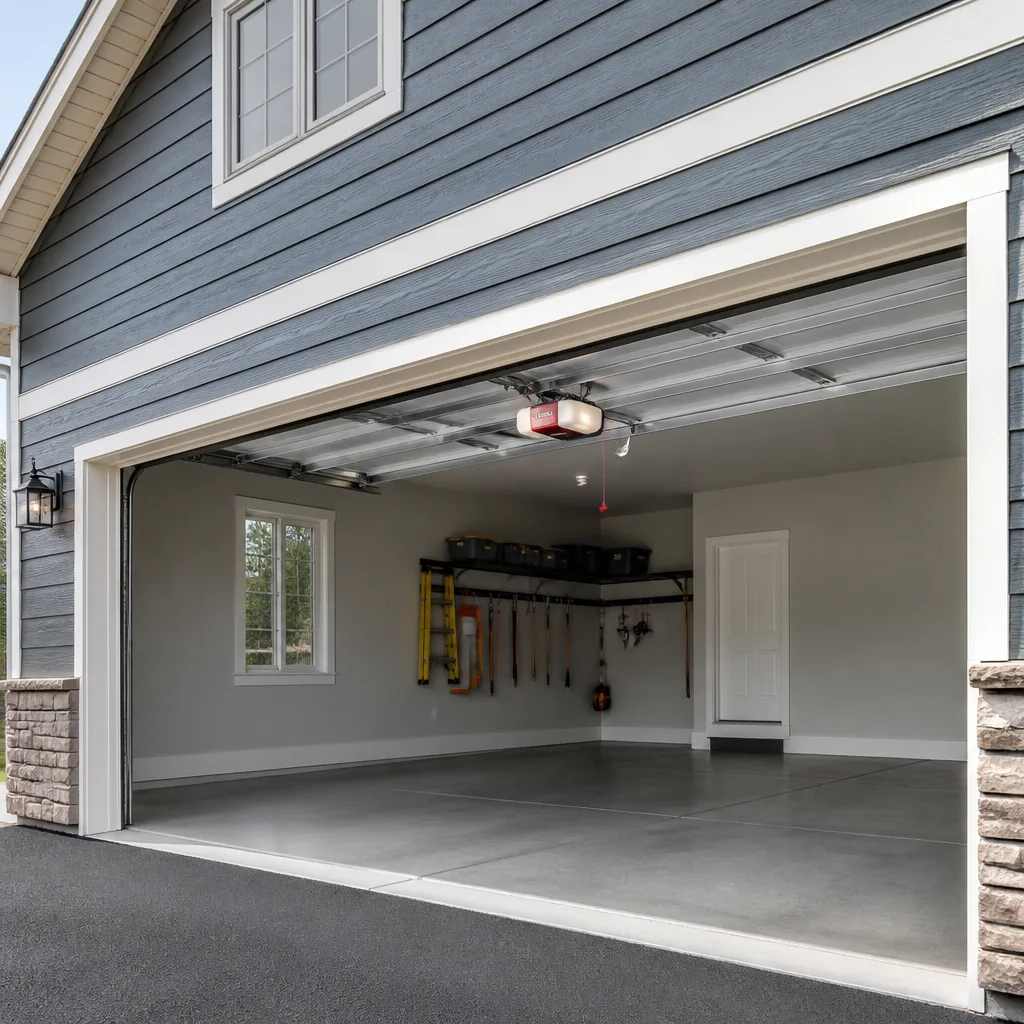
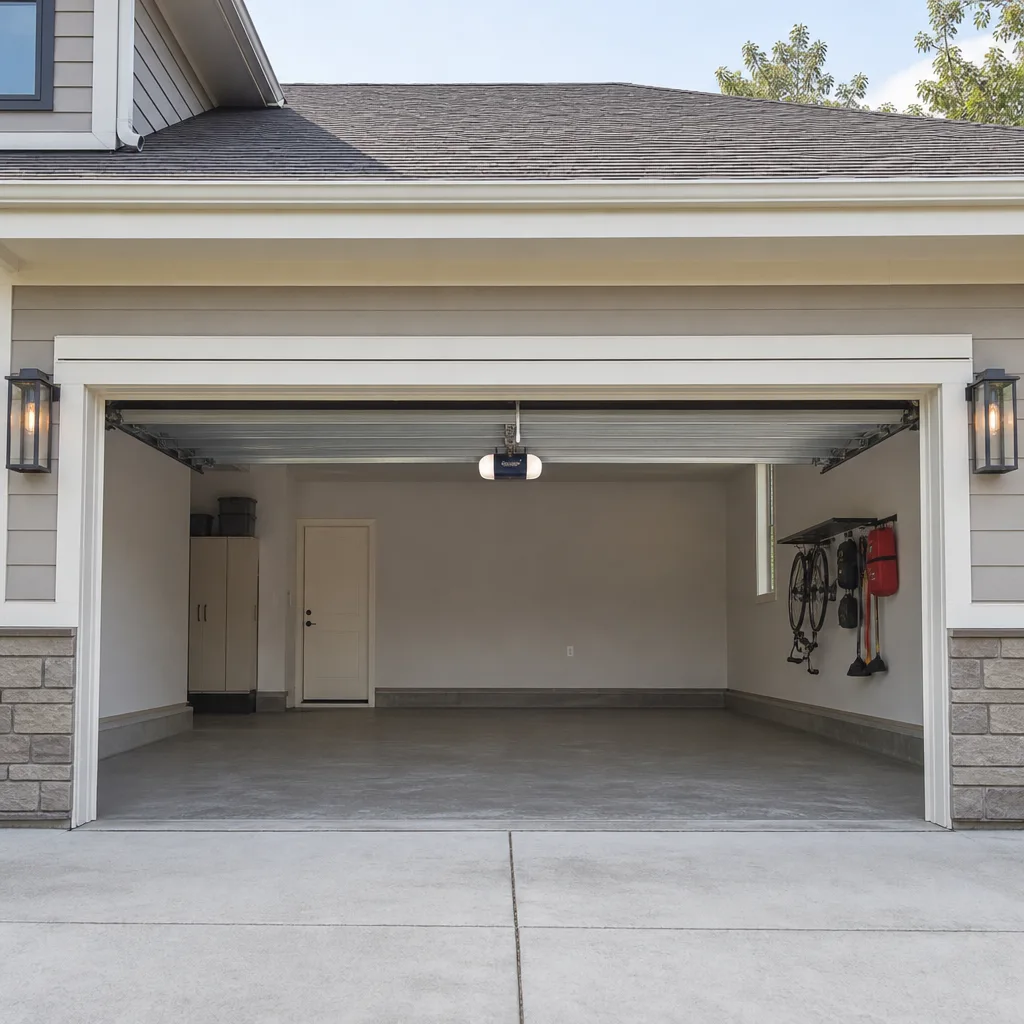
 Before
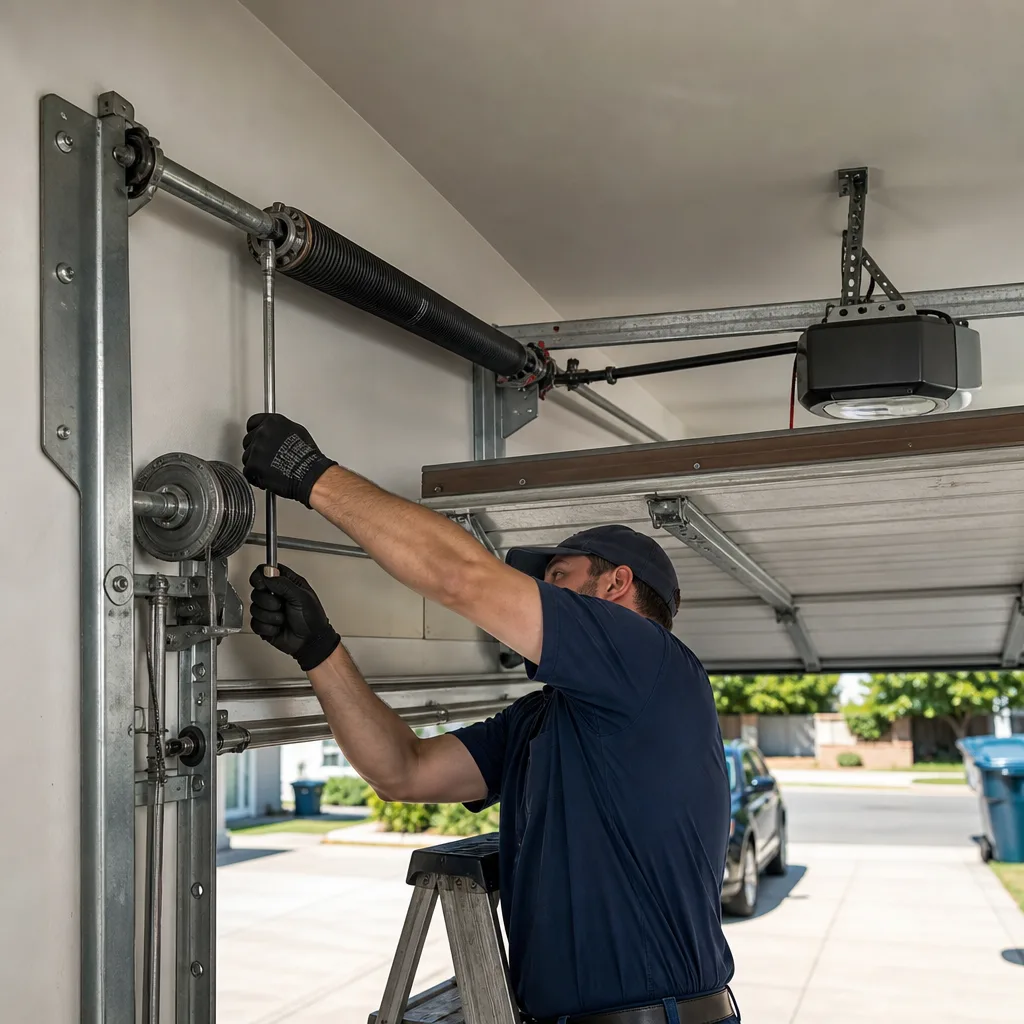 After
After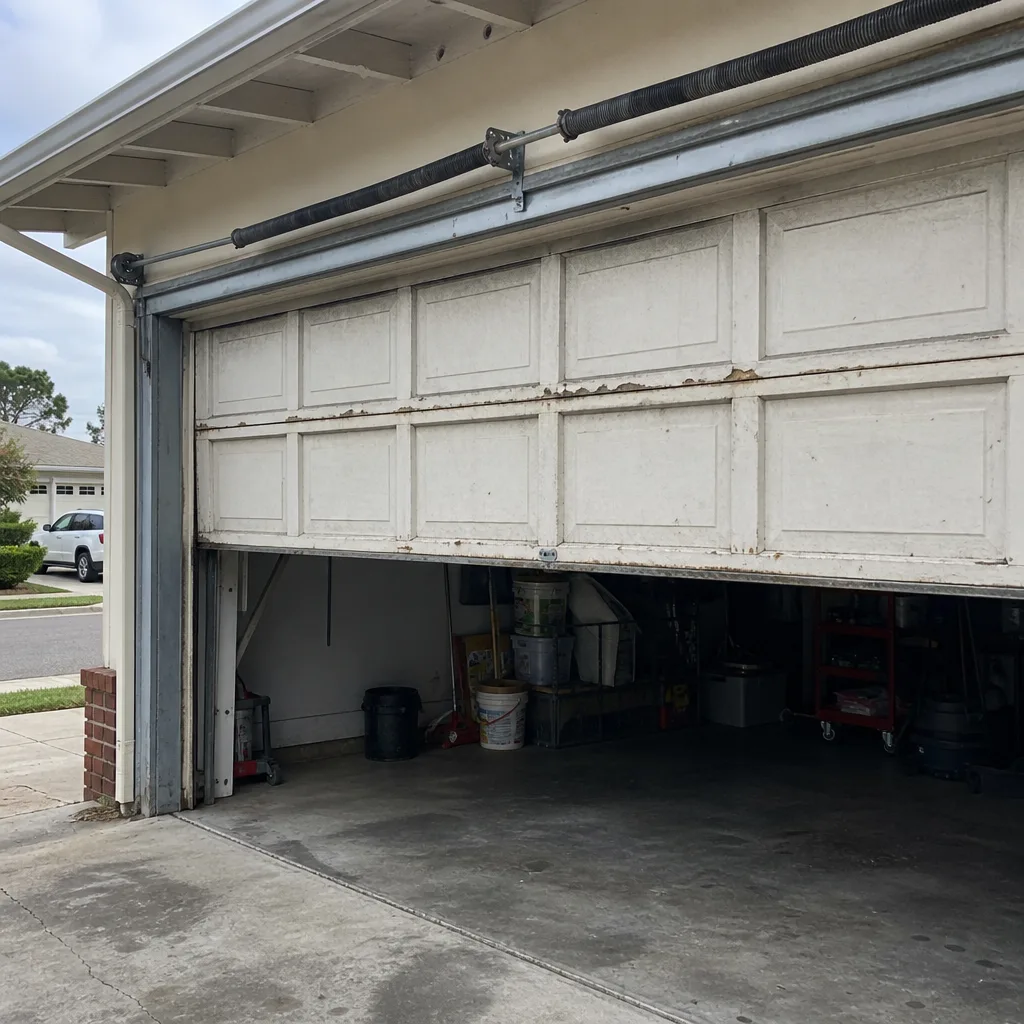 Before
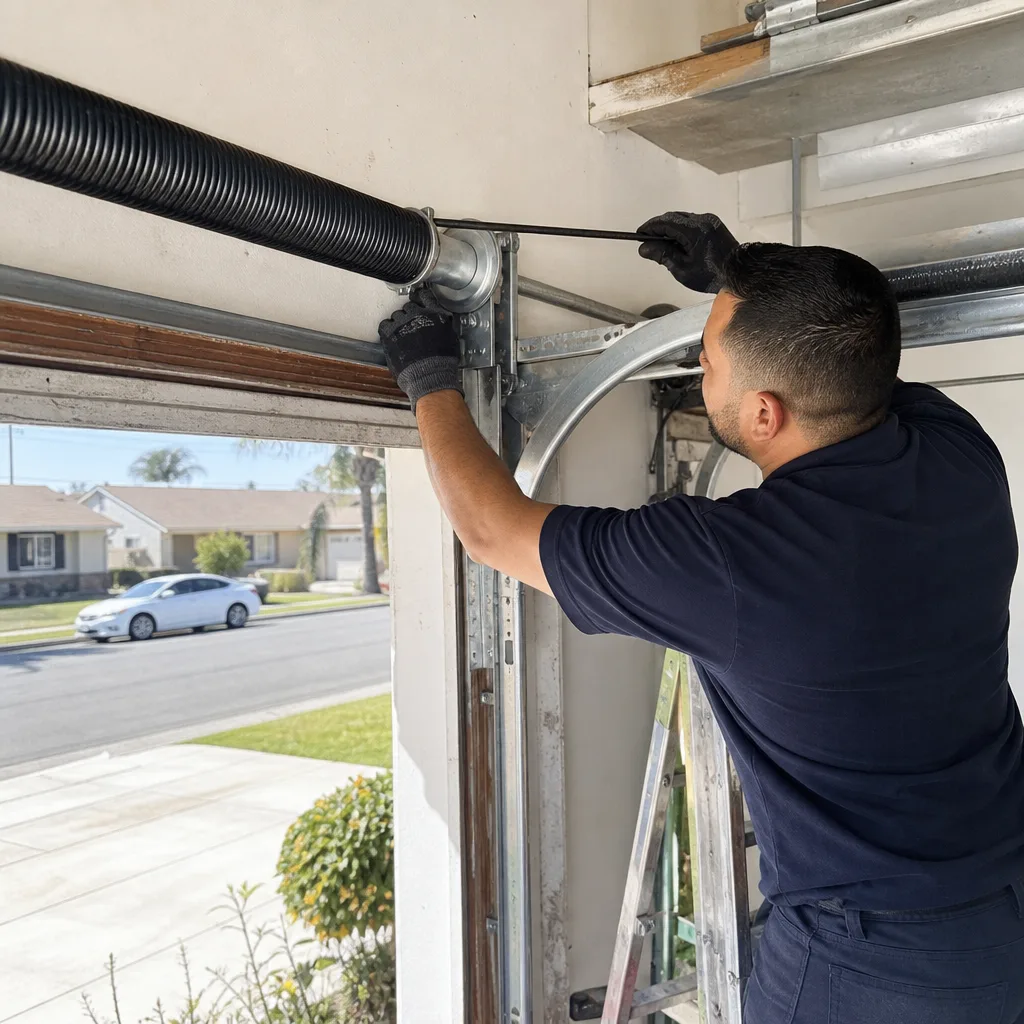 After
After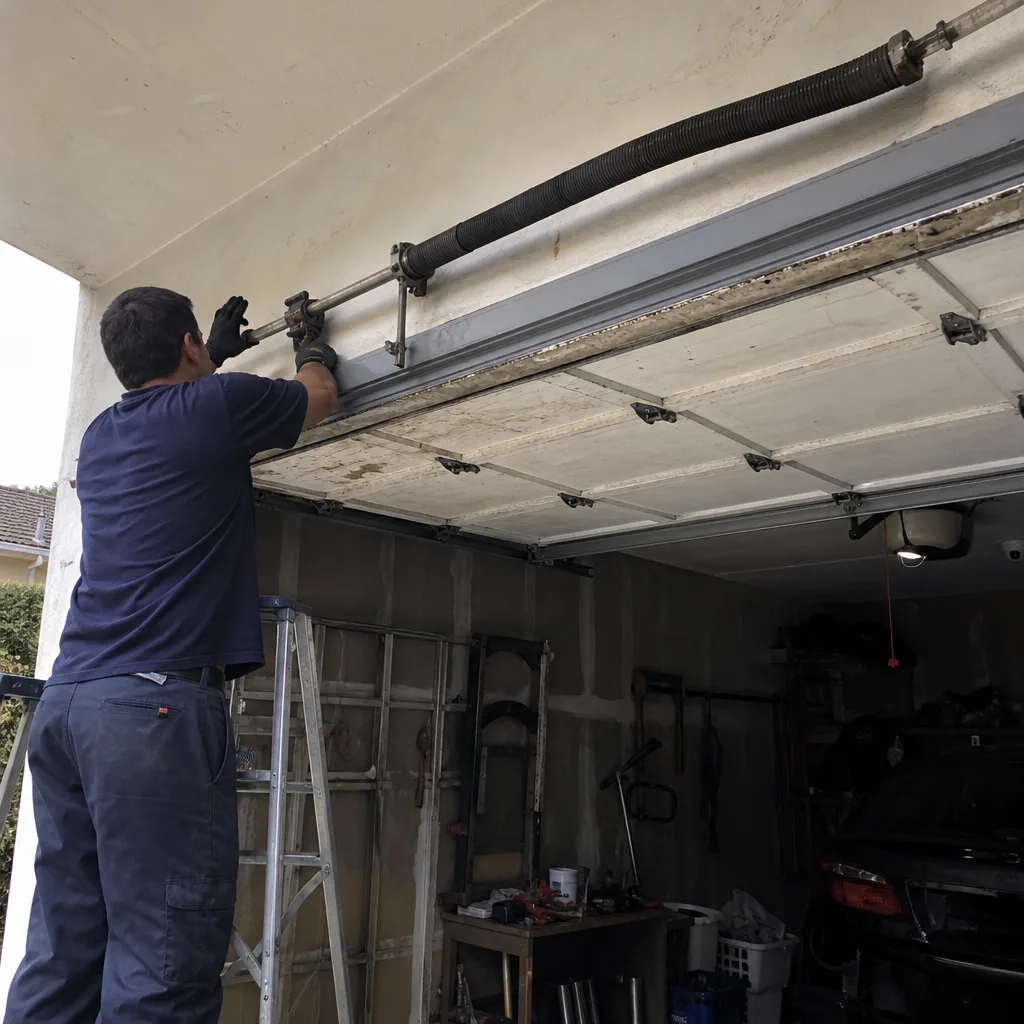 Before
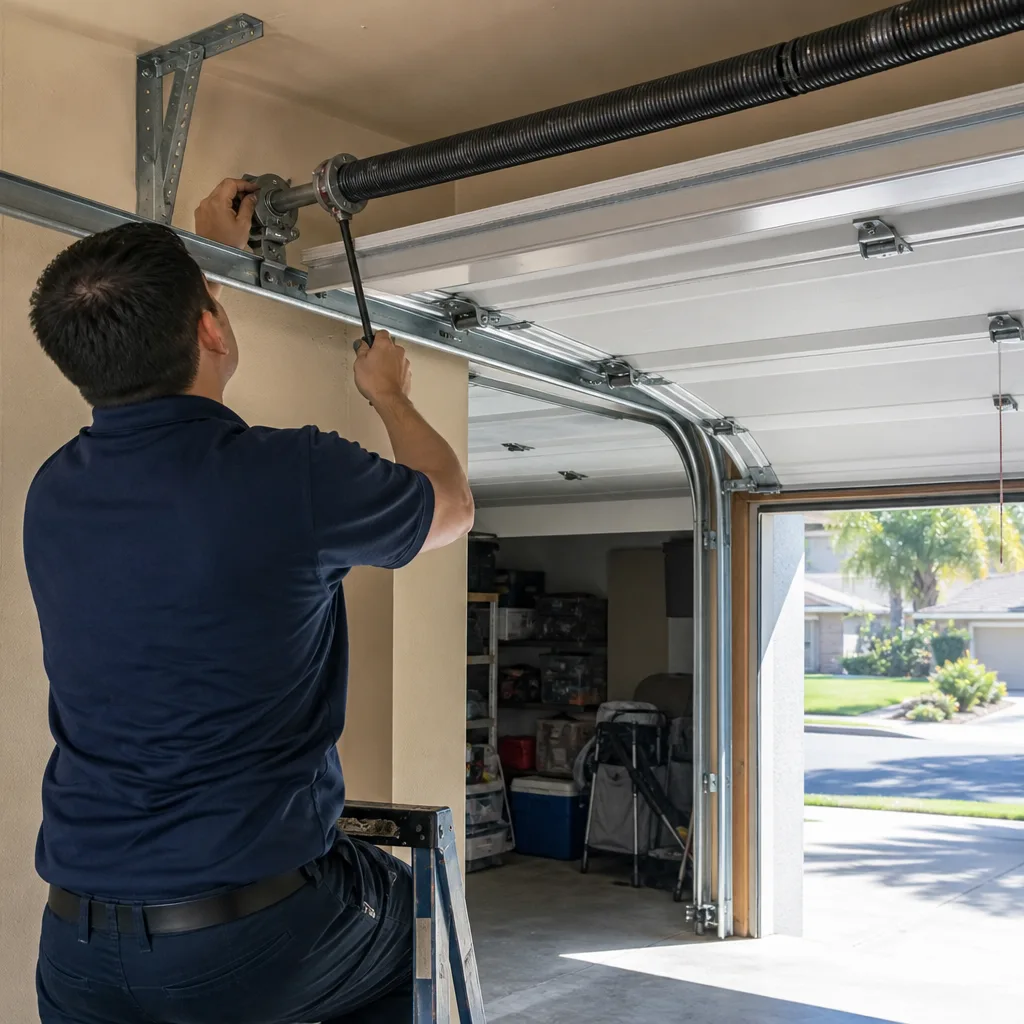 After
AfterDIY vs Professional Garage Door: The Huntington Beach Homeowner’s Decision Guide
Here’s the counterintuitive part: the most dangerous garage door repair in your home isn’t the one that looks scary. It’s the torsion spring replacement that looks like a simple swap of a worn-out part. In Huntington Beach, where salt air corrodes components faster than inland neighborhoods, we see homeowners make the DIY-versus-pro decision based on confidence rather than the mechanical reality of the task. This guide draws the line at the component level, not the confidence level, so you can decide with facts instead of guesswork. For more guides & resources, visit our blog.
Quick Answer
Most garage door maintenance in Huntington Beach is safe for a careful homeowner: lubrication, sensor alignment, weather seal replacement, and tightening loose bolts. But torsion spring replacement, cable work under tension, and opener logic board failures require a professional, not because homeowners lack skill, but because the parts are difficult to source locally, the failure consequence is severe, and a misstep converts a $200 repair into an $800 correction.
Table of Contents
- The Task-by-Task Classification: 10 Common Garage Door Jobs
- The Huntington Beach Parts Problem: Why DIY Cost Math Fails Here
- What a Failed DIY Repair Actually Costs to Correct
- The Permit Implication of DIY Work in California
- How to Document a DIY Repair Correctly
- Torsion Spring Mechanics: The Specific Risk, Explained
- Common Mistakes to Avoid
- When to Call a Professional
BeforeAfterThe Task-by-Task Classification: 10 Common Garage Door Jobs
Every garage door task falls into one of three categories. The classification isn’t about skill, it’s about three mechanical factors: stored energy, parts availability, and the cost of a mistake. Here’s the breakdown, with the specific reason behind each classification.
Safe DIY: Tasks with No Stored Energy and Readily Available Parts
- Lubrication of rollers, hinges, and the torsion spring (monthly to quarterly). The mechanical reason this is safe DIY: no part requires disassembly, and the lubricant (white lithium grease for metal-on-metal contact, never WD-40) is available at any hardware store in Huntington Beach. A 10-minute task. The failure consequence is zero; the worst outcome is over-lubricating, which attracts coastal dust.
- Photo-eye sensor alignment. The sensors at the base of the door track can drift from vibration, especially in Huntington Beach where frequent garage-to-beach traffic means the door cycles many times daily. The fix requires a screwdriver and checking that both sensor lights are solid. There’s no stored energy in the sensor circuit if you unplug the opener first. The only caution: never bypass the sensor wiring to force a door to close. That’s a code violation and a genuinely dangerous decision.
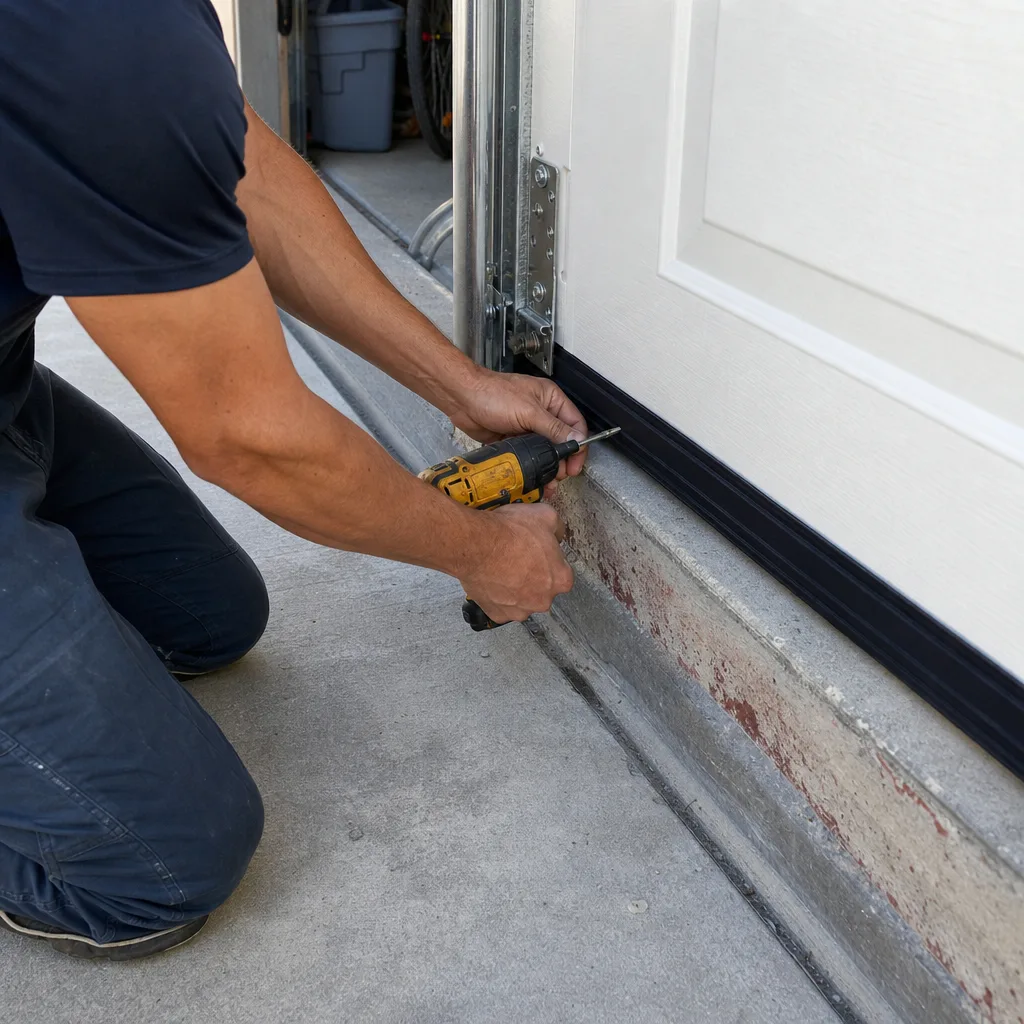
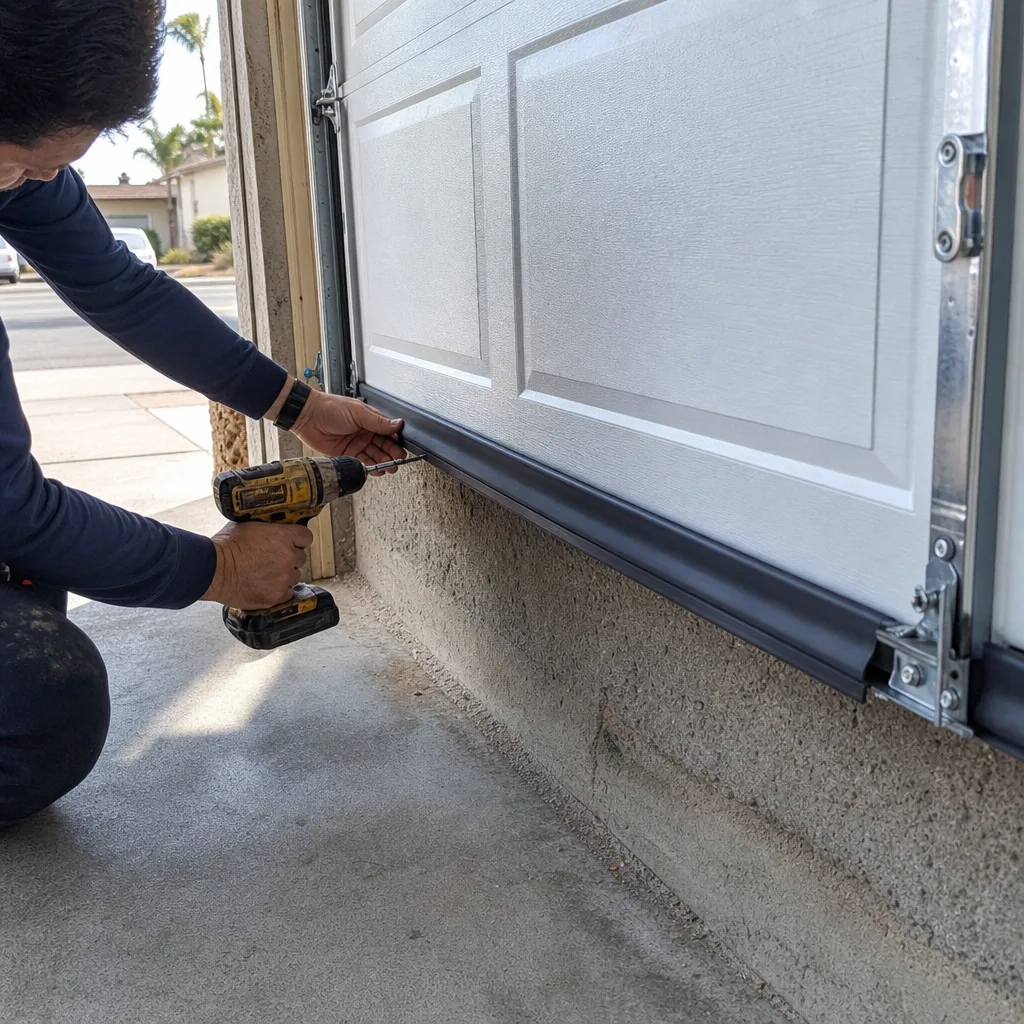
- Weather seal replacement on the bottom of the door. The bottom seal (the rubber strip on the door’s bottom panel) degrades from salt air exposure in Huntington Beach faster than in inland cities. Replacing it involves removing the old seal from the aluminum retainer and sliding in the new one. No tension, no electricity beyond unplugging the opener, no special tool needed. A Genie or Clopay seal can be ordered from a local distributor or found at hardware stores; the key is matching the width exactly.
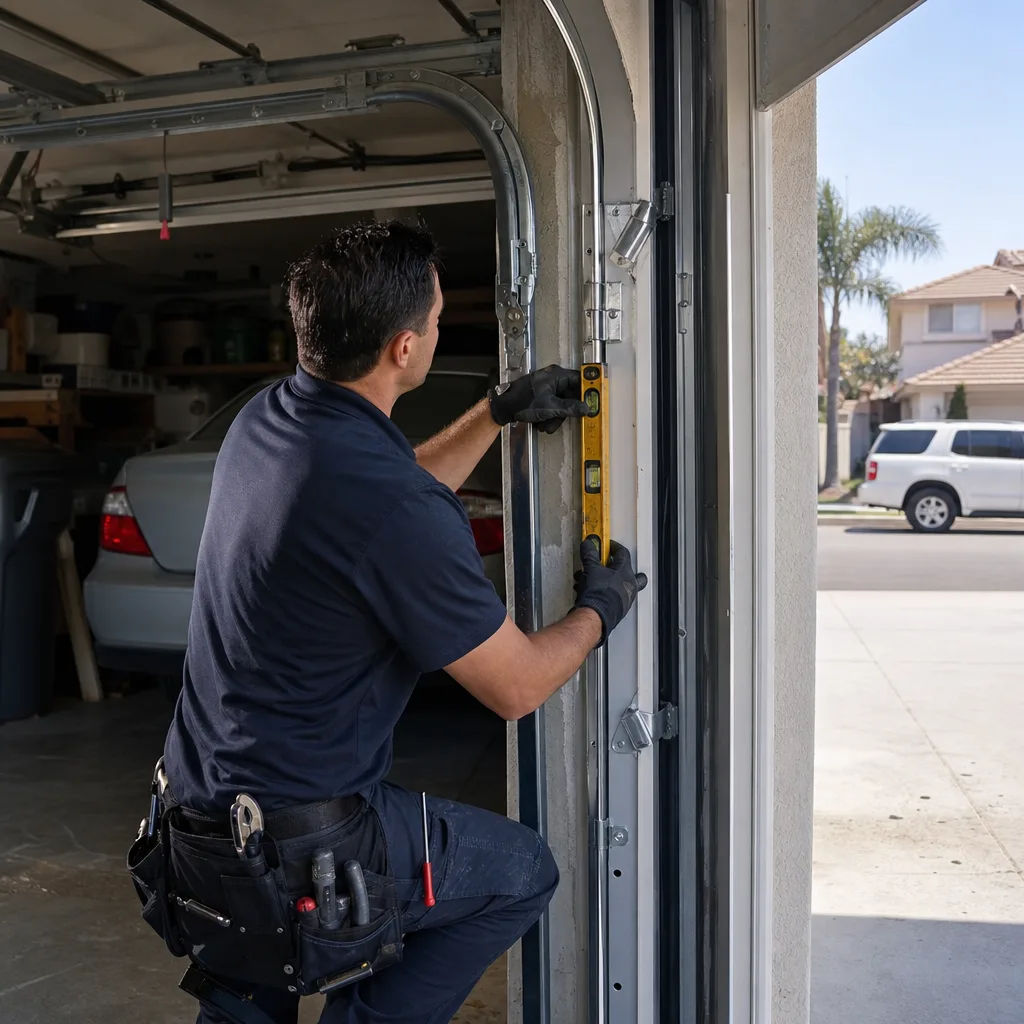
- Tightening loose track bolts and hinge screws. Vibration from daily cycling loosens bolts over time. A socket set and 15 minutes addresses this. Check the track brackets on the wall and ceiling, not just the rollers. The only caution: never attempt to straighten a bent track with force. Bent tracks are a replacement issue, not an adjustment issue.
DIY with Documented Risk: Tasks You Can Do, But the Margin for Error Is Thin
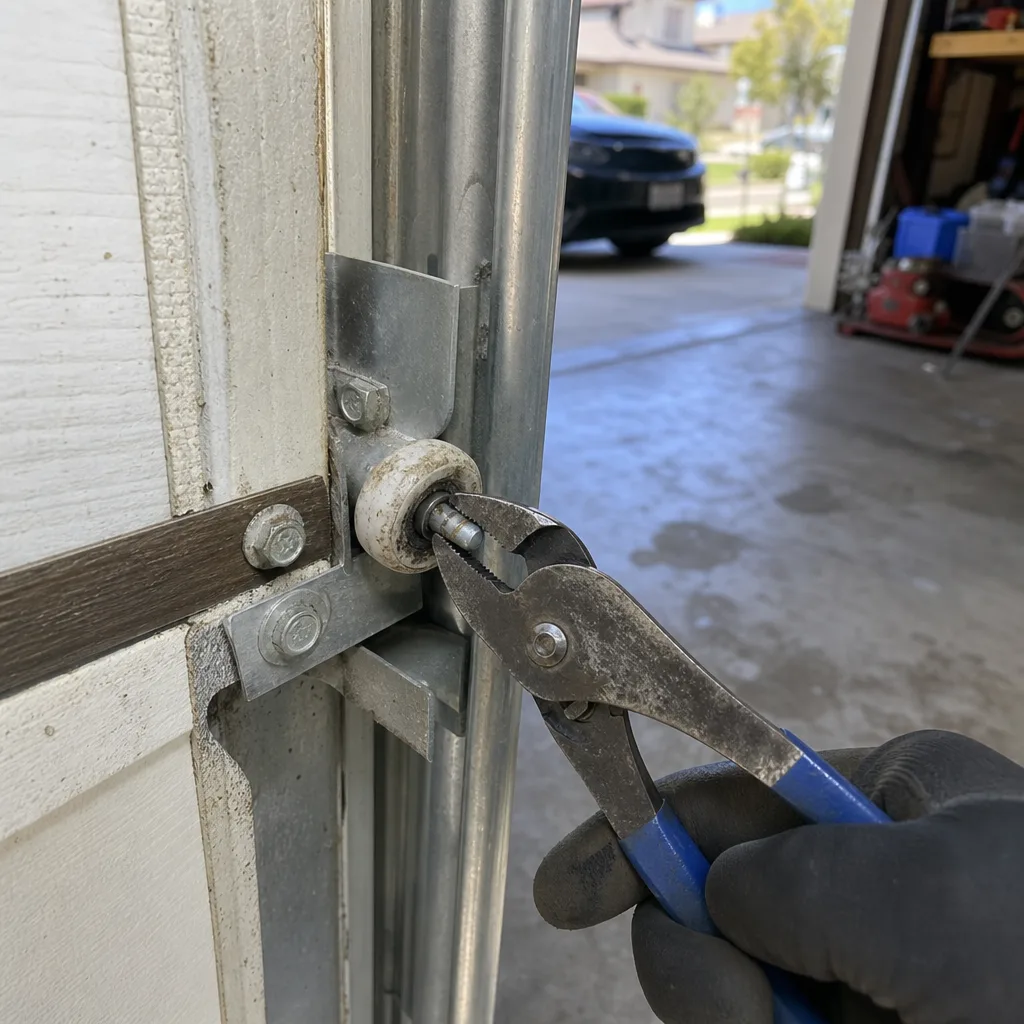
- Roller replacement on a sectional door. Rollers wear out, especially on the bottom panel where they carry the most weight. You can replace rollers yourself if you unbolt the track from the wall and remove the roller from the bracket. The risk: the bottom bracket on a sectional door is attached to the cable, which is under tension from the spring. If you remove the wrong bolt, the cable can detach and the bracket, under spring tension, can cause injury. The documented approach: use a bar to hold the door open, never touch the bottom bracket, and only replace the rollers that sit inside the track. For anything involving the bottom bracket or cable attachment, stop and read the next section.
- Opener remote and keypad reprogramming. If you can identify the learn button on the opener (usually a small colored button near the antenna wire), programming a new remote is a straightforward sequence. The risk here is minimal if you follow the manufacturer’s button-press sequence. The complication: older openers in Huntington Beach homes built before 2015 may have rolling-code remotes that are no longer manufactured. You’ll spend an afternoon on a forum before discovering you need a new opener logic board or a universal remote.
Professional Required: Tasks with Stored Energy, Specialized Parts, or High Failure Consequence
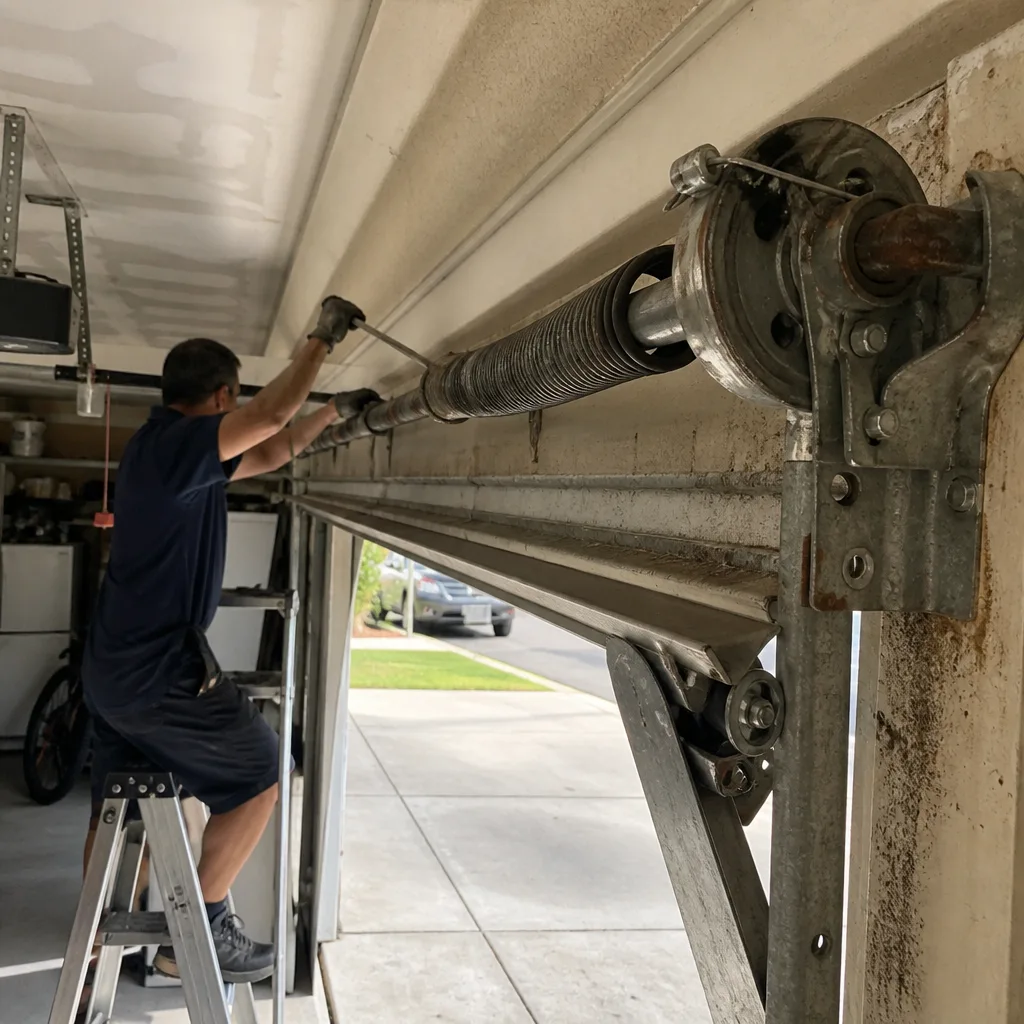
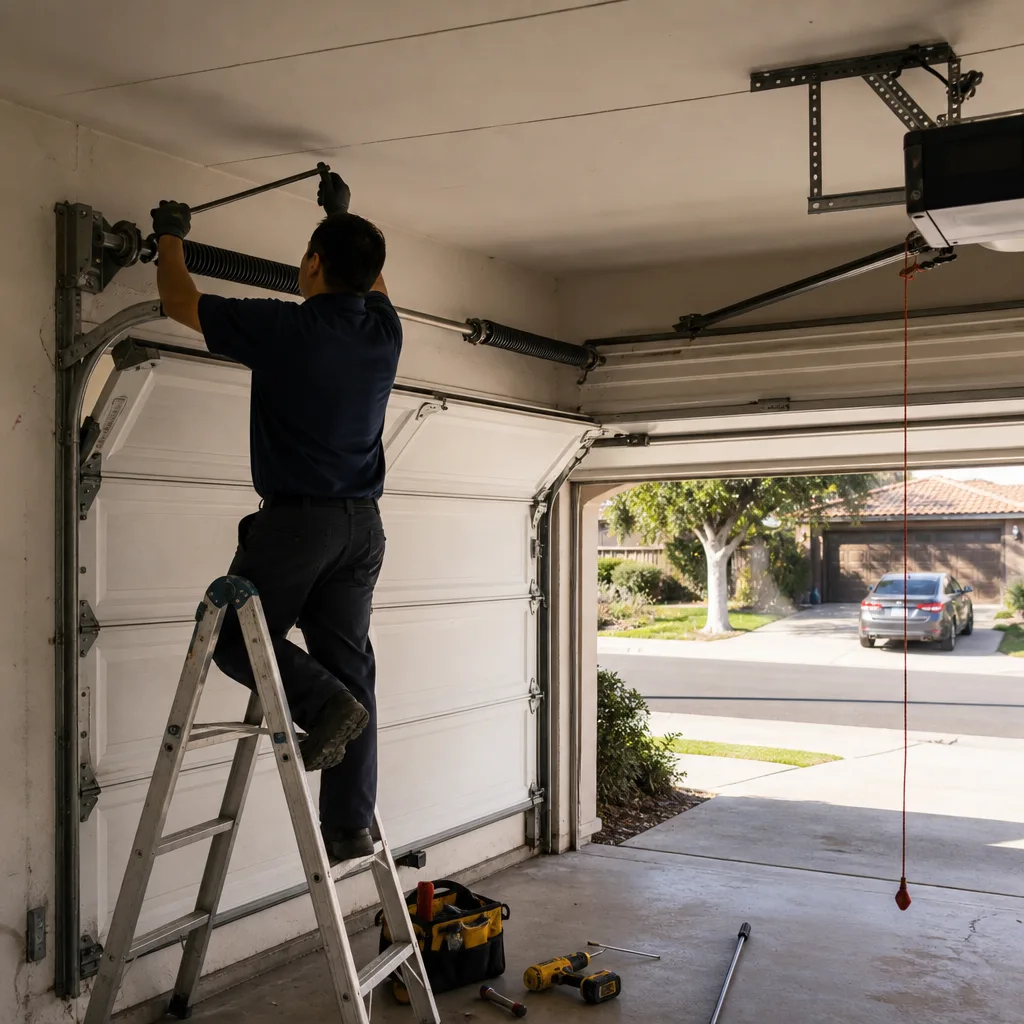
- Torsion spring replacement. This is the archetypal professional-only task, and the reason is mechanical, not cautionary filler. A torsion spring is wound with a specific number of quarter-turns calculated from the door’s weight and the spring’s wire diameter. The winding process requires two steel bars inserted into the winding cone, each bar taking the load alternately as you turn. A single slip, a bar that isn’t fully seated, or a miscalculated turn count releases stored energy equivalent to a serious hand or face injury. The spring, if snapped, has already released some of that energy unpredictably. You cannot safely improvise this tool. For a full explanation of the mechanics, see the dedicated section below.
- Cable replacement. The lift cables run under tension from the spring. On a torsion system, releasing cable tension requires unwinding the spring first. On both torsion and extension systems, the cable runs through a drum or pulley that can fray from salt-air corrosion. A frayed cable can snap under load. This is professional work because the sequence is: release spring tension, replace the cable, rewind the spring, verify balance. Getting any step wrong means the spring releases suddenly.
- Opener logic board replacement. The logic board is the opener’s brain, and replacing it requires matching the exact board revision to your opener model. In Huntington Beach, power surges from coastal electrical infrastructure can fry boards, and we see this often. The risk is electrical, not mechanical: a capacitor on the board can retain a charge, and installing the wrong board revision can damage the motor or the wiring. This isn’t a task where a YouTube video closes the gap; the board reset and model-matching is vendor-specific.
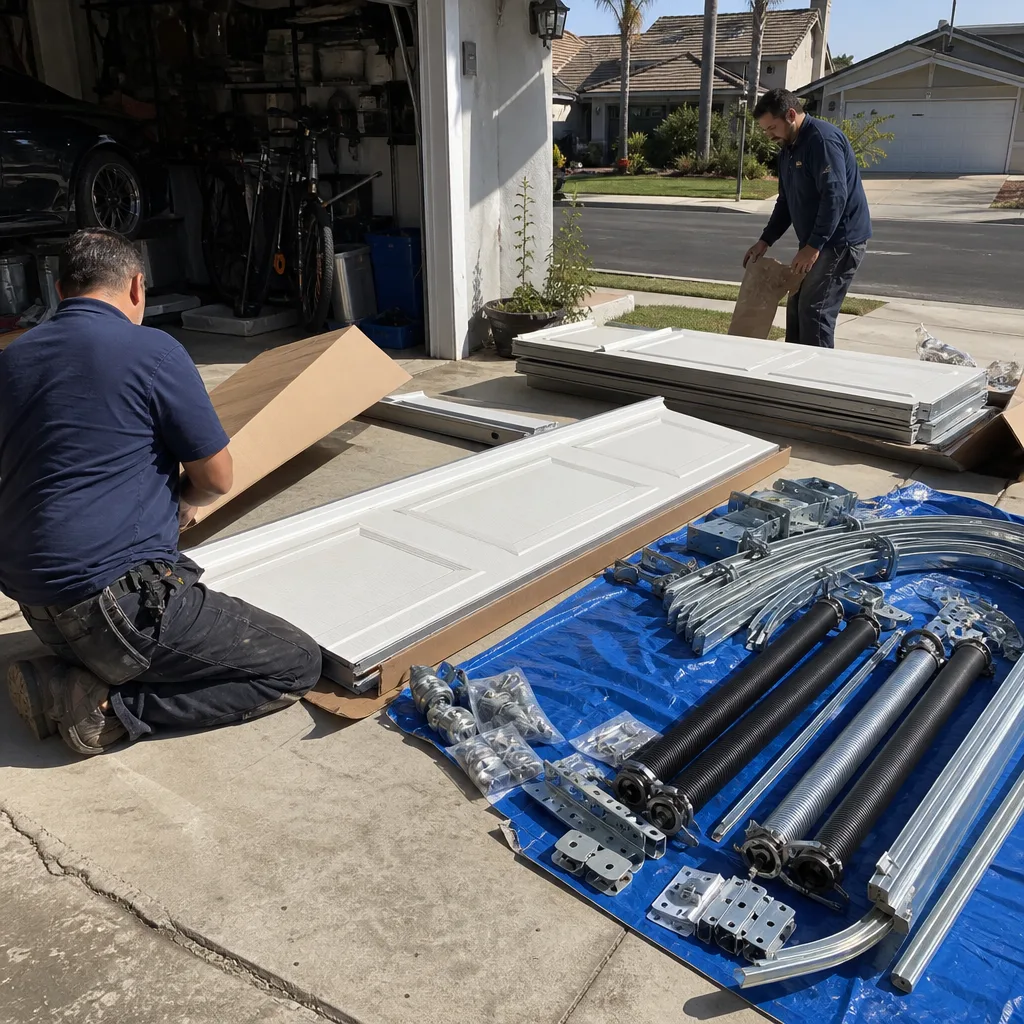
- Sectional panel replacement. Damaged panels need to match the manufacturer, the door model, and the exact color code. For Clopay or Amarr doors, panels are ordered from the distributor with a lead time, and the installation requires rebalancing the door because the weight has changed slightly. A homeowner can do the physical removal and replacement, but the balancing afterward is a spring-tension task, not a panel task.
For a complete look at what professional repair covers in Huntington Beach, see Garage Door Repair in Huntington Beach.
The Huntington Beach Parts Problem: Why DIY Cost Math Fails Here
Most DIY-versus-professional cost comparisons assume you can get the part locally at a hardware store. That assumption breaks down in Huntington Beach for three specific reasons.
Reason 1: Coastal-spec hardware is not stocked at big-box stores. Garage door components rated for marine or coastal environments use zinc-plated or stainless hardware that resists the salt air. The standard galvanized hardware at Home Depot or Lowe’s in Huntington Beach will corrode faster and fail sooner. If you’re replacing hinges, brackets, or fasteners on a Coastal-rated door, the generic part is not an equivalent part. Ordering a Coastal-spec replacement from a distributor means a phone call and a lead time, and by then, you’ve spent the savings in time.
Reason 2: Torsion springs are matched, not standard. Every torsion spring is matched to the door’s weight, height, and track configuration. A spring with the wrong wire diameter or length will under- or over-lift the door, putting strain on the opener and the cables. A hardware store cannot provide this match. A distributor can, if you can accurately measure the old spring’s wire diameter, coil count, and inside diameter. Get any of those three measurements wrong, and the door doesn’t balance.
Reason 3: The lead time on special-order parts changes the decision. Suppose you order a Wayne Dalton or Clopay bottom bracket for a specific door model. If it’s in stock at a distributor warehouse in Orange County, you might have it in 2-3 days. If it’s special order, the lead time is 7-14 days. Meanwhile, your garage door is either immobilized or propped open, which is a security risk in a dense Huntington Beach neighborhood. We’ve had homeowners call us after waiting a week for a part that arrived wrong, and the emergency replacement cost more than the original professional repair would have.
What this means for the cost math: A DIY torsion spring replacement where you buy the spring from a distributor, buy two winding bars, set aside the time to learn the procedure, and account for the possibility of a matching error, often lands within $100-$150 of a professional repair. At that differential, the question is whether you want to spend your weekend doing hazardous work with no documentation, or have it done and documented in under two hours.
For the parts and service side of this, see Garage Door Opener Repair & Installation in Huntington Beach.
What a Failed DIY Repair Actually Costs to Correct
The hidden cost of DIY garage door work isn’t the parts. It’s the correction invoice. Here are three scenarios we’ve seen in Huntington Beach, with the actual math of what it costs when a well-intentioned repair goes wrong.
Scenario 1: The Half-Wound Spring
A homeowner in the southeast Huntington Beach area replaced a torsion spring, watched a tutorial, and wound it as far as he felt comfortable. He stopped at 20 quarter-turns when the spring required 28. The door would open halfway and stop. Our technician arrived to find the spring under-wound, the door opener’s limit switch reset by the owner in an attempt to compensate, and the cables slightly uneven. The correction required releasing the partial tension, rewinding the spring to the correct turn count, resetting the limit switches, and rebalancing the door. The invoice: $180 for the spring, $95 for the correction labor, and the owner’s original spring cost was $60. His total: $335 for a repair that would have cost $240-$280 from the start, plus six hours of his time.
Scenario 2: The Bypassed Sensor
A homeowner in Huntington Harbour installed a new garage door opener himself and, frustrated by the photo-eye alignment, bypassed the sensor with wire nuts so the door would close. The door then closed on a bicycle, damaged the bottom panel, and the sensor bypass was discovered on inspection. The correction required replacing the bottom panel ($210-$380 depending on panel match), rewiring the sensors, and reprogramming the opener’s force settings to factory spec. The total easily exceeded the cost of professional installation.
Scenario 3: The Wrong-Diameter Spring
A homeowner ordered a torsion spring online using a measurement he took from the existing spring. The wire diameter was off by 0.015 inches, which is enough to change the door’s balance by 10 pounds of lift force. The door would open with manual help and would not stay closed reliably. The technician measured the old spring correctly, ordered the right spec, and installed it. The owner’s total cost: $70 for the wrong spring (often non-returnable on special order), $65 for shipping, plus a $200 professional spring replacement. The professional quote he had initially declined was $240.
These are not worst-case stories. They are typical of what a professional service sees when a homeowner crosses the line into spring and cable territory.
The Permit Implication of DIY Work in California
California’s owner-builder rules let a homeowner pull a permit for work on their own residence. For garage door work, the relevant question is rarely whether you can, but whether you should. Before proceeding, review Garage Door Permits, Codes & Inspections in CA: What You Need to Know.
What owner-builder permits actually allow: Under California Business and Professions Code section 7044, a homeowner can pull a permit and perform work on their own property without a contractor’s license. For garage door work, this applies to structural changes, like widening a garage door opening or installing a new header. The permit covers the framing and structural work, not the door installation itself.
What most garage door repairs technically fall under: Replacing a torsion spring, a cable, a roller, or an opener is considered repair work, not new installation. Repair work does not require a permit from the City of Huntington Beach building department, regardless of who performs it. This means a homeowner doing a spring replacement isn’t violating a permit requirement. However, if the repair involves modifying the door’s mounting structure, the calculation changes.
When a DIY repair technically required a permit that wasn’t pulled: If you’re replacing a garage door with one of a different weight, and the original door was installed with a specific spring and cable setup, the new door should be permitted. The permit ensures the spring tension, cable routing, and mounting hardware meet current building code. If you DIY this and the door fails, the unpermitted work can complicate a future home sale in Huntington Beach, where coastal home inspections are already thorough. The buyer’s inspector will note the mismatched installation, and the sale may stall over a $250 permit.
The practical takeaway: For repair work like springs, cables, and openers, you don’t need a permit. For any installation that changes the door’s weight or opening dimensions, pull the permit or hire a licensed contractor who will.
How to Document a DIY Repair Correctly
If you do perform a DIY repair, the documentation you keep matters more than the repair itself. A well-documented repair gives a future technician a baseline and a future home buyer confidence that the work was done properly. Here’s the documentation standard we recommend.
- Photograph the component before you touch it. Take three photos: a wide shot of the area, a close-up of the part showing its current state, and a macro shot of any identifying marks (part number, wire diameter stamp, manufacturer label). These photos are the baseline.
- Photograph every step of disassembly. If you remove a panel, a spring, a cable, or a bracket, photograph it at the point of removal. This is not cosmetic documentation; it’s the record a technician uses to understand what was there before you changed it.
- Record part numbers and specifications. For a torsion spring, write down the wire diameter (e.g., 0.225 inch), the inside diameter (e.g., 2 inches), the length (e.g., 30 inches), the coil count, and the brand. For a cable, record the length and the drum size. For an opener, record the model number and the logic board revision.
- Photograph the completed work. The finished installation from the same three angles as step 1. This shows the transformation.
- Store the record with your home documents. The photo record, the part specifications, and the date of the repair go in a file with your home’s maintenance records. When you sell the home in Huntington Beach, this is evidence of competent maintenance, not a red flag.
We’re specific about this because our service standard does the same thing by design. Clause 4 of The Haven Standard, the documentation system we work under, requires the technician to photograph the failed component before quoting a replacement. The founder’s rule was simple: the customer sees the failed part before anyone quotes a price. Every visit at Servo Garage Doors Huntington Beach ends with a documented photo record of what we found and what we did. If a DIY repair goes wrong and you call us, that same documentation discipline is how we show you exactly what needs correcting.
Torsion Spring Mechanics: The Specific Risk, Explained
Most guides say “torsion springs are dangerous” without saying why. The “why” is specific, and it’s worth understanding because it’s the difference between respecting the spring and fearing it irrationally.
A torsion spring stores energy by twisting. The spring is mounted on a steel shaft above the door, and to install it, you wind it. Winding means inserting a steel bar into the winding cone, turning the bar a quarter-turn, holding that bar in place, inserting a second bar into the next slot, turning another quarter-turn, and repeating. The number of quarter-turns is calculated based on the door’s weight and height. A standard 7-foot, 150-pound door might require 28 quarter-turns. A 8-foot, 250-pound door might require 34.
At 28 quarter-turns, the spring holds a significant amount of torque. If the bar slips out of the cone, the spring unwinds instantly, whipping the bar with enough force to break bones or worse. A single miscalculation in the turn count doesn’t just make the door unbalanced; it changes how much force the spring exerts, which can overload the cables and cause a sudden failure.
The specific reason this is professional work: the tool is a pair of hardened steel winding bars matched to the cone’s socket, and the calculation is an exact formula. An improvised bar that doesn’t seat fully in the socket is the most common cause of a winding accident. A homeowner who doesn’t know how to measure wire diameter and coil count can’t calculate the turn count accurately. The risk is mechanical and specific. It’s not a matter of “leave it to the professionals” generality. It’s a matter of a tool, a calculation, and a stored-energy release that cannot be safely approximated.
If you’re considering a full door replacement rather than a spring repair, see Garage Door Installation in Huntington Beach for the process, the written price approach, and the documentation standard.
Common Mistakes to Avoid
- Using WD-40 to lubricate the torsion spring. WD-40 is a solvent, not a lubricant. It will strip existing grease and leave the spring drier than before. Use white lithium grease on metal parts and silicone-based lubricant on nylon parts.
- Replacing the spring with a “close enough” match. A spring that’s one wire gauge off or two inches shorter will not balance the door. The door will feel heavy, the opener will strain, and the cables will wear prematurely. You cannot eyeball a torsion spring match.
- Bypassing the photo-eye sensor to force the door to close. The sensor is a safety device required by federal law since 1993. Bypassing it causes the door to close on anything in the path, including a child or pet. If the sensor is misaligned, realign it. Never disable it.
- Ignoring the balance test after any DIY repair. With the door disconnected from the opener, the door should stay at the halfway point when lifted manually. If it drops or rises, the spring tension is wrong. Every DIY repair should end with this test, and if the door fails it, don’t operate the opener.
- Proceeding with a DIY project without a documented parts list. If the project goes wrong and you need a professional to finish it, the technician needs to know what parts you installed and where you sourced them. If you can’t provide that, the correction starts from scratch.
- Assuming the big-box store part is equivalent. In Huntington Beach, coastal-spec hardware exists for a reason: salt air corrodes standard hardware faster. A $6 galvanized bracket will fail in half the time of the zinc-plated version. The savings aren’t worth the repeat repair in a marine environment.
When to Call a Professional
Call a professional the moment a repair involves a torsion spring, a lift cable under tension, a bent track, or an opener logic board failure. Call when the parts you need aren’t available locally and the lead time leaves your garage inoperable. Call when you’ve attempted a repair and the door’s balance has changed: if it drops, rises, or the opener sounds strained. Call when the work you’re considering changes the door’s weight or mounting structure, because that may trigger a permit requirement you don’t want to handle alone. Servo Garage Doors Huntington Beach offers free estimates in Huntington Beach, with a written price and written scope before any work starts, per Clause 1 of The Haven Standard. Call (657) 256-6126.
Frequently Asked Questions
Torsion spring replacement in Huntington Beach typically costs $180-$340, including the spring and installation. See our Garage Door Cost Breakdown: The Huntington Beach Homeowner’s Reference for 2026 for detailed pricing. The price depends on the door’s weight, spring wire diameter, and whether you need one spring or two. Servo Garage Doors Huntington Beach quotes a flat, written price before any work starts, and the technician photographs the failed spring before quoting the replacement, per Clause 4 of The Haven Standard. Call (657) 256-6126 for an exact quote.
No. Torsion spring replacement is the one repair where a DIY attempt carries a real risk of serious injury, and the reason is mechanical, not a matter of experience. The winding process uses two steel bars and a calculated number of quarter-turns based on door weight. A slip releases stored energy that can break bones. A wrong turn count leaves the door unbalanced. This isn’t a task where care compensates for the missing tool and calculation.
Lubrication, sensor realignment, weather seal replacement, and tightening loose bolts are all safe DIY tasks. Follow our Garage Door Repair Maintenance Checklist for Huntington Beach Homeowners for guidance. Each involves no stored energy, no special tools beyond a socket set and screwdriver, and readily available parts. For anything involving a spring, cable, or the bottom bracket, call a professional.
Look for a separation in the spring coil. A torsion spring that has snapped will have a visible gap in the coil, usually in the middle. If the spring is rusted but not separated, it’s still under tension and should be replaced by a professional before it fails. Huntington Beach homeowners should inspect springs annually, because salt air accelerates corrosion and reduces spring life compared to inland homes.
Two main reasons: salt air accelerates corrosion on the door’s hardware, increasing friction, and coastal humidity causes the door’s wooden or composite components to swell slightly, changing the clearance. Both increase the load on the opener. Regular lubrication and seasonal balance checks prevent the opener from burning out prematurely.
No, at Servo Garage Doors Huntington Beach, the price is written and agreed before any work begins. The technician assesses the job, photographs the failed component, and writes the flat price and scope. There are no surprise line items after the fact. If additional work is discovered, it’s quoted separately and only performed with your written approval. Call (657) 256-6126 for a free estimate.
The Bottom Line
The DIY-versus-professional decision for garage doors in Huntington Beach comes down to three questions: Is there stored energy? Can I get the correct part locally? What does a mistake cost to correct? For lubrication, sensors, seals, and loose bolts, DIY is safe and sensible. For springs, cables, logic boards, and panel replacements, the mechanical reality doesn’t change with confidence. A professional repair costs roughly what a failed DIY attempt costs to correct, and it comes with a documented record and a flat written price. You can do some of this yourself. You should not do all of it.
Written by Marcus Deller, Owner at Servo Garage Doors Huntington Beach, serving Huntington Beach since 2015.